Quick answer
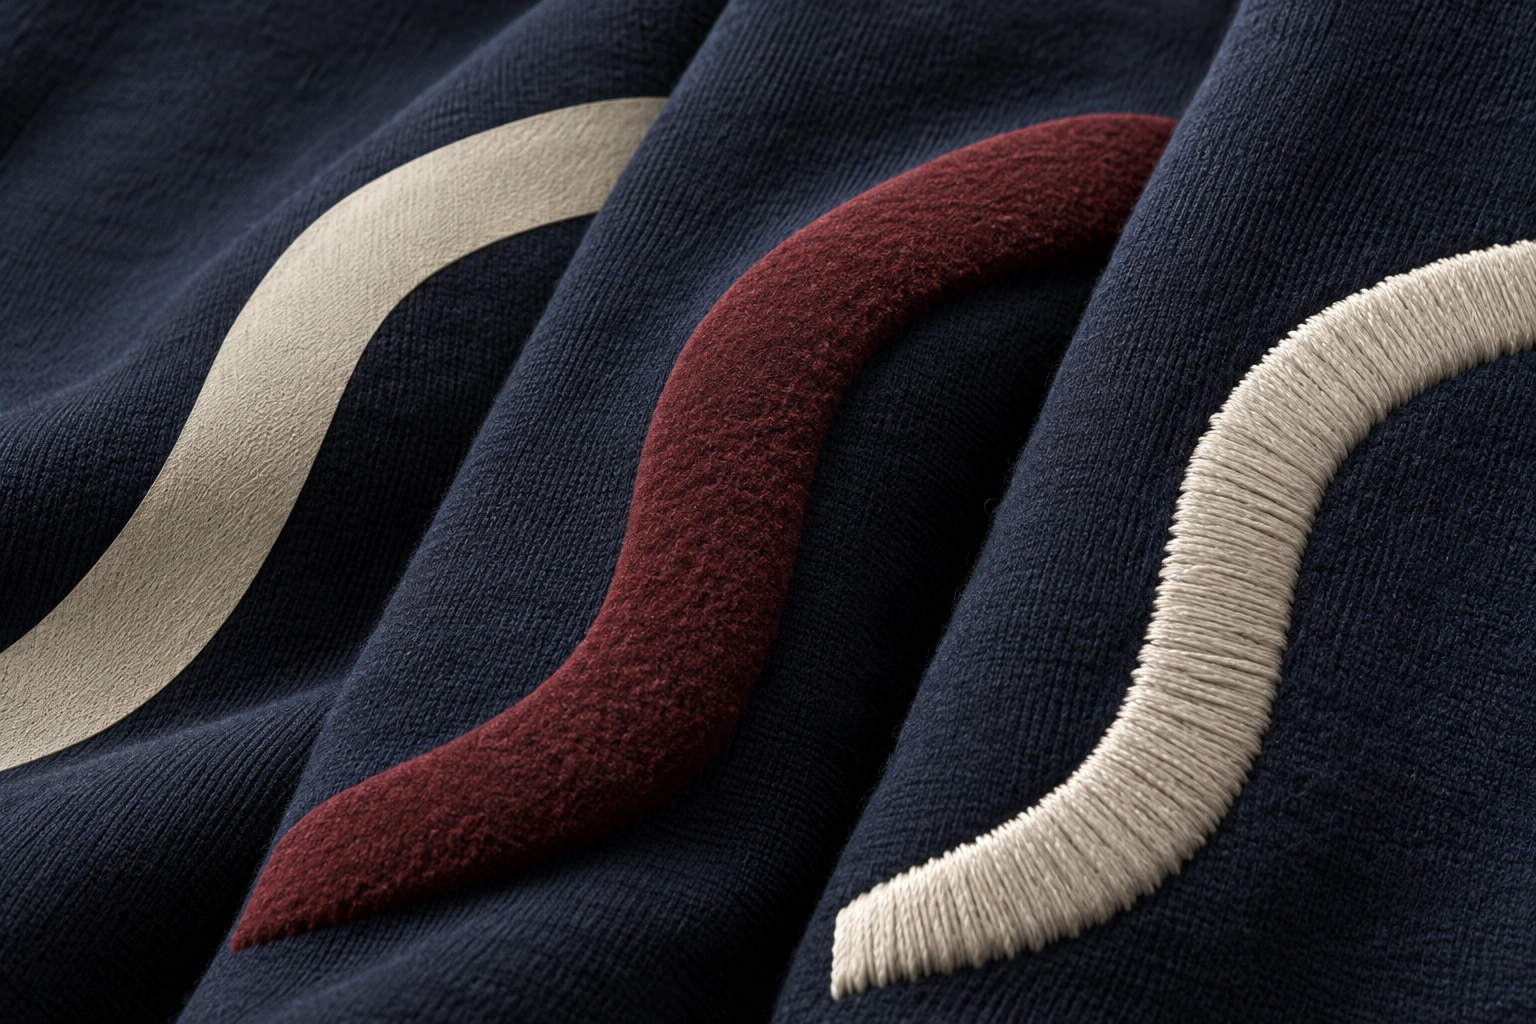
Choose decoration by the texture you want, the artwork it must reproduce and the garment carrying it. Puff screen printing creates a raised ink effect; flat screen printing here means a printed finish without intentional puff; embroidery builds the design with stitches. Review the proposed result on your actual fabric before making it the production reference.
Make the comparison precise
Puff is often an effect produced through screen printing, so “puff versus screen print” can describe overlapping categories. When requesting options, specify puff screen printing, flat screen printing or embroidery. A raised transfer or foam embroidery is a different proposal and should be identified as such.
Ink maker Avient documents a puff additive used with plastisol ink and explains that screen setup and print sequence affect the result. Its Flexipuff technical sheet illustrates why “puff” alone is not a complete specification. It does not establish which ink SALATI uses.
Compare outcomes, not just process names
This table identifies questions to resolve. It does not rank the techniques by durability, price or environmental impact. Those outcomes depend on the complete specification and should be compared in actual proposals.
| Question | Puff screen print | Flat screen print | Embroidery |
|---|---|---|---|
| Desired surface | Raised ink texture | Printed surface without intentional puff | Visible thread and stitch texture |
| Artwork review | Shape, spacing and appearance of raised areas | Edge definition, color coverage and registration | Stitch interpretation, lettering and detail |
| Garment review | How the raised area sits and moves | How coverage affects the garment’s feel | How stitched areas and backing feel when worn |
| Approval reference | Finished print on the intended fabric | Finished print on the intended fabric | Stitch-out, followed by garment placement review |
| Quotation scope | Artwork, colors, locations and effect | Artwork, colors, locations and coverage | Artwork, size, locations and stitch development |
Start with artwork at its real size
Show the design at the intended dimensions, with placement measured from a defined garment point. Include the smallest lettering, narrow spaces and any areas that must remain open. A large illustration on a screen can hide problems that become obvious when a chest logo is reduced to its final size.
For puff, ask which parts should rise and which should stay flat. For a flat print, identify the color and surface you expect on the garment’s base color. For embroidery, ask to see how the artwork will be interpreted in stitches. Do not assume one file will produce an identical appearance in all three processes.
If detail must change, request a marked proposal before sampling. Keep the original artwork and the approved production version separately identified.
Include fabric, construction and placement
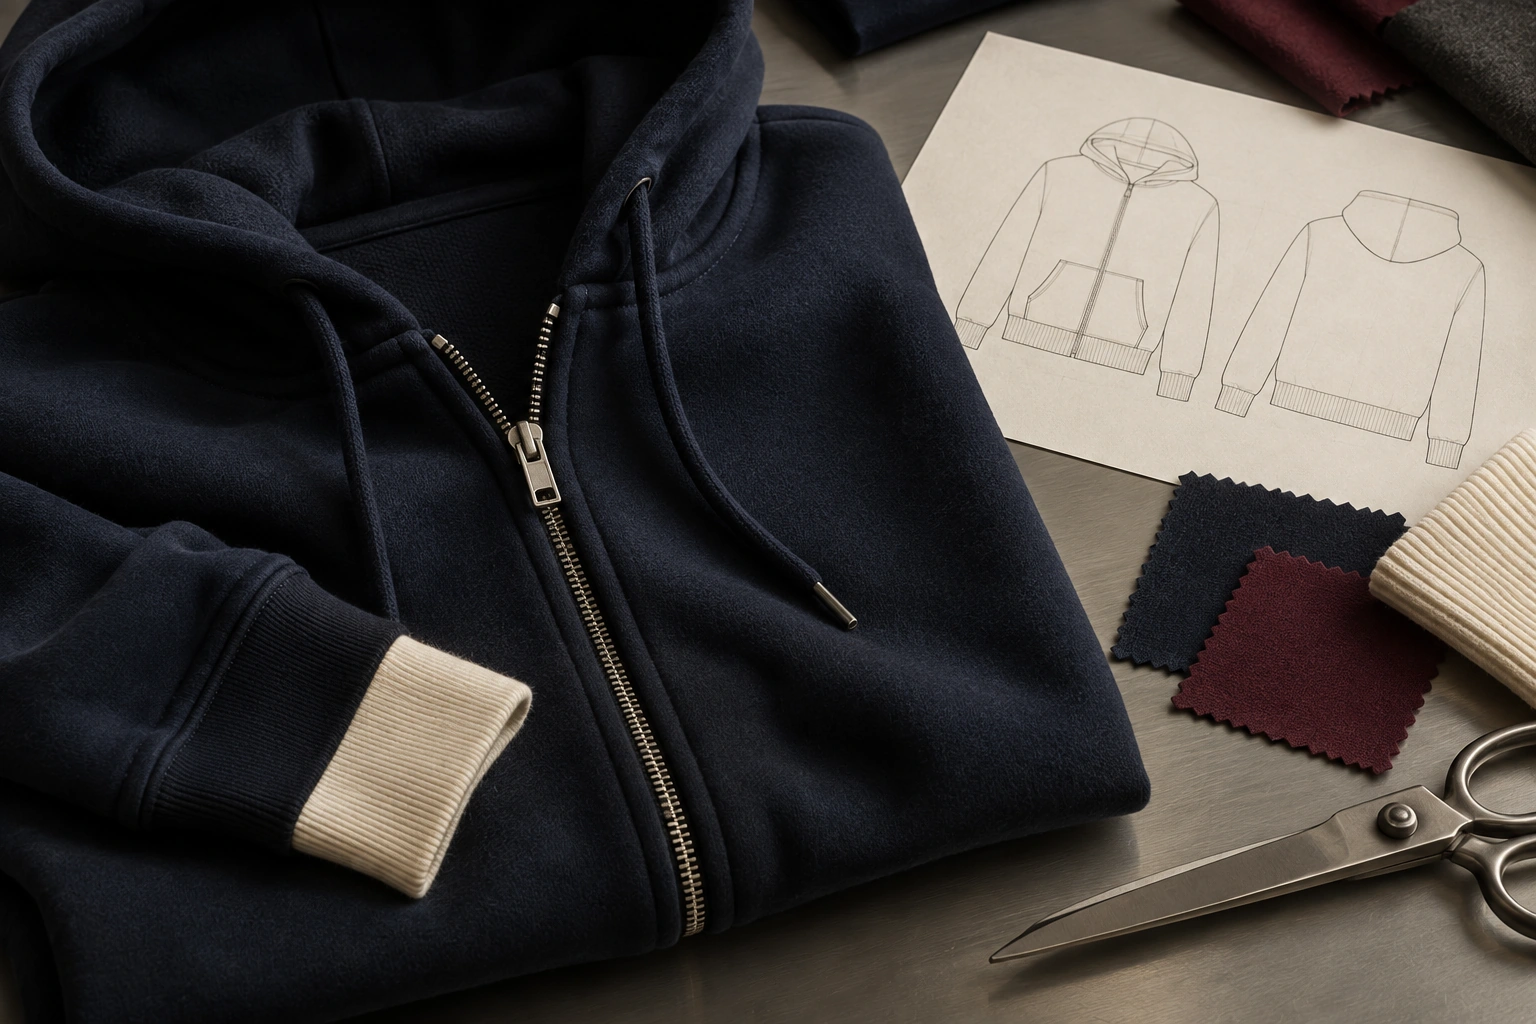
Provide the fabric reference, composition and any wash or dye treatment. Review graphics near pocket openings, zippers, seams and rib panels on the actual garment. Artwork placement should account for how the garment is constructed and how it sits when worn.
For embroidery, examine the reverse as carefully as the front. Stabilizer choice depends on the fabric and design; Madeira’s backing guide discusses matching support to knits and design characteristics. Check comfort, visible distortion and the finish around the stitched area rather than judging only the logo photograph.
Ask the supplier to identify the proposed method and any limits. A technique name does not guarantee compatibility with every material, wash treatment or artwork size.
Approve appearance and care behavior together
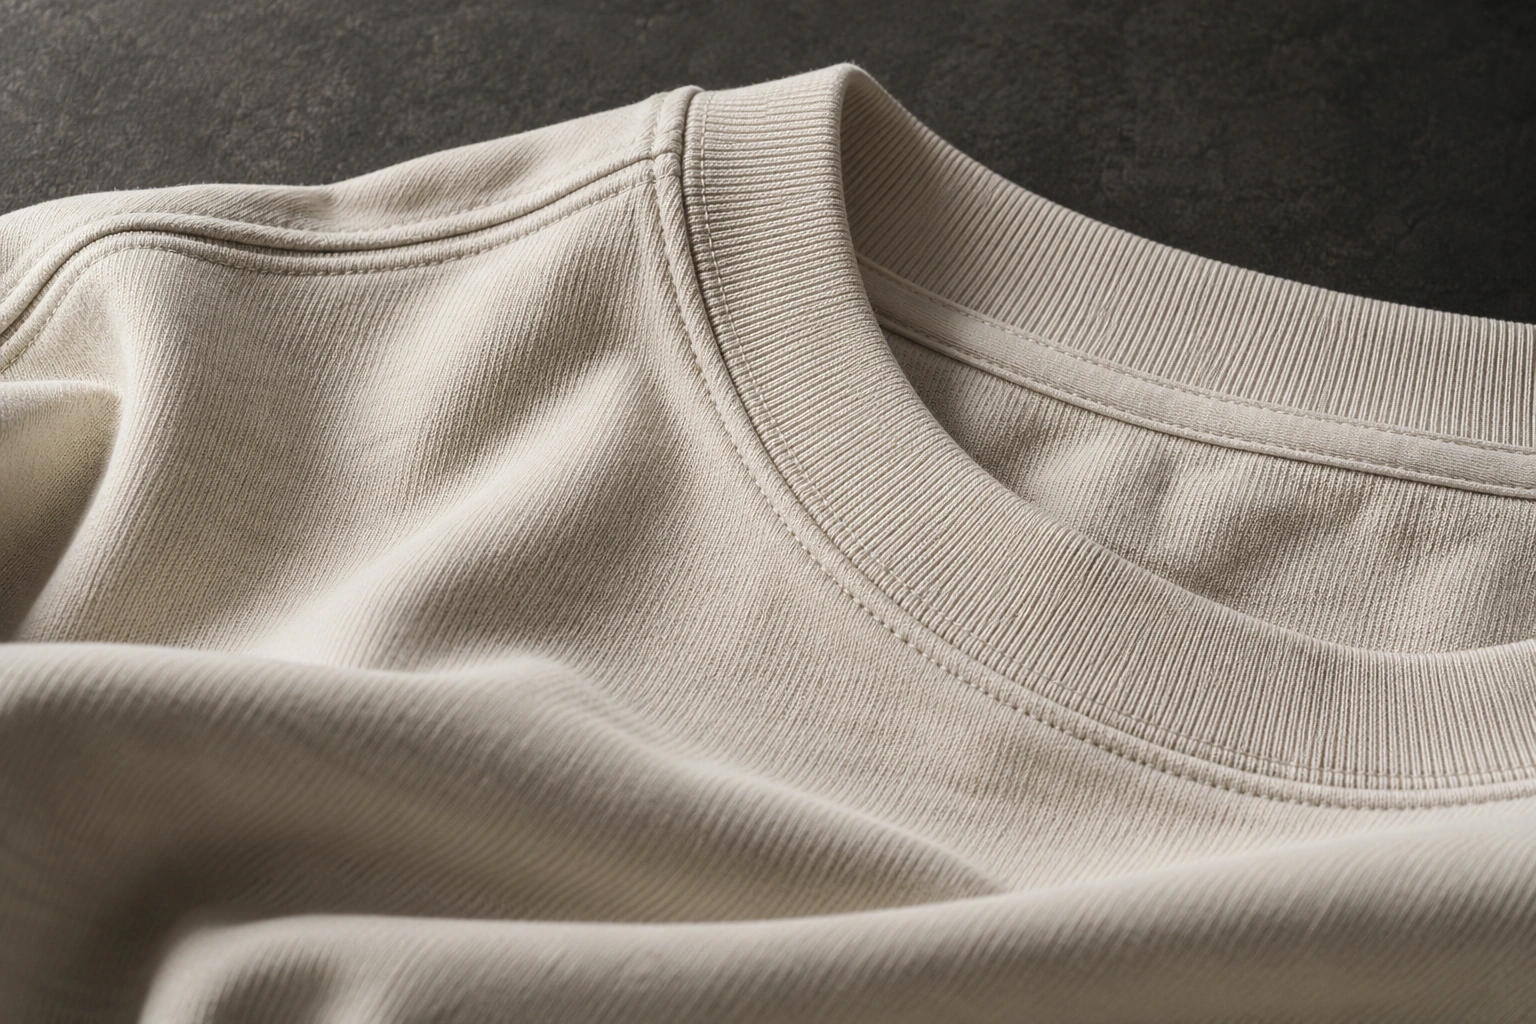
Keep a labeled decoration reference showing the fabric, artwork revision, size, colors and placement. Inspect it in consistent lighting and compare it with the full garment. Record what is approved and what still needs adjustment.
Agree the care review before testing. After the agreed wash and drying conditions, compare the appearance, garment shape and how the decoration feels. If your order requires a particular laboratory test, define that requirement separately; a sample photograph or informal wash does not establish a certified result.
A useful comment describes the change: “Keep the current placement; simplify the small text in the marked area and resubmit the artwork for review.” “Make it more premium” gives the next sample no clear target.
Example: compare technique proposals without losing the design
When asking for two decoration options, separate the design features that must remain from the features you are willing to change. Otherwise, a lower quotation may simply describe a different logo size, location or level of detail. Give every proposal an option code and keep the artwork revision attached to it.
The example below assumes a buyer is comparing a flat chest print with an embroidered interpretation. It does not establish that either option is feasible for your garment. Ask the team to identify any proposed change to lettering, spacing, backing or placement before commissioning the next sample. Keep commercial and visual decisions in separate columns so neither is implied by approval of the other.
Choose the option only after its accepted artwork and garment reference are identifiable. If an adjustment is made to improve the result, retain the original file and label the new version. A revised stitch interpretation or print layout should not silently replace the design used for the earlier quotation.
| Decision field | Option A | Option B |
|---|---|---|
| Method | Flat screen print proposal | Embroidery proposal |
| Design changes | List proposed changes or none | List proposed changes or none |
| Evidence to review | Identified print sample | Identified stitch-out and placement sample |
| Commercial status | Quoted scope and open items | Quoted scope and open items |
Common questions
Which method is best for a small logo?
Begin with the actual artwork and size. Compare a print sample or embroidery stitch-out; no universal minimum lettering size applies to every design and fabric.
Which costs least?
Request comparable quotations using the same artwork, garment, placements and quantities. Confirm setup, sampling and revision scope rather than comparing isolated unit prices.
Can SALATI help select a method?
SALATI’s development scope includes print, embroidery and technique assessment. Send your artwork, garment reference, material direction and intended quantities. If you want puff, include a physical or visual texture reference so feasibility and the proposed process can be reviewed before the sample is agreed.
Bring the details to SALATI.
Share your reference, planned quantity and the decisions you would like help with.
Discuss your projectThis guide explains development decisions. Confirm fabric availability, specifications, minimum quantities, fees and delivery terms for your individual project with SALATI.